- /About me
- /Helping Hand
- /Contact
-
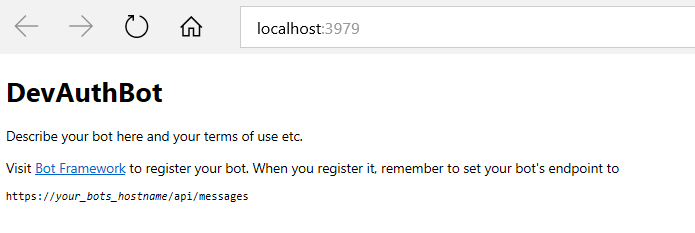
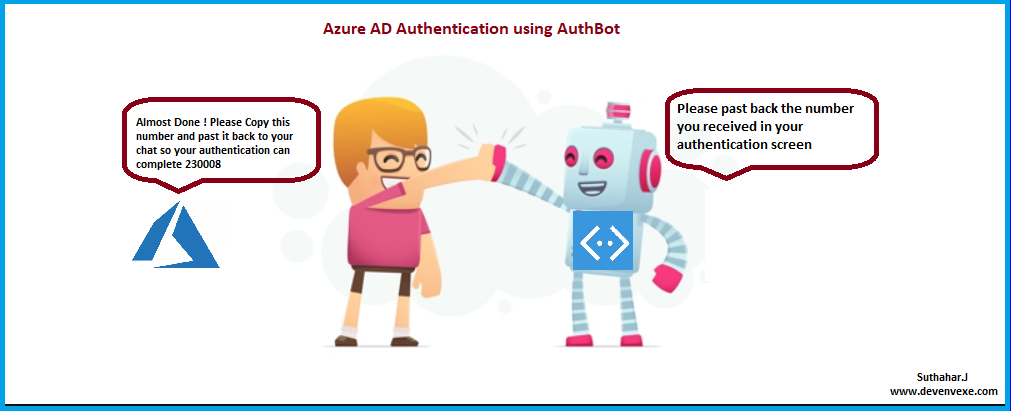
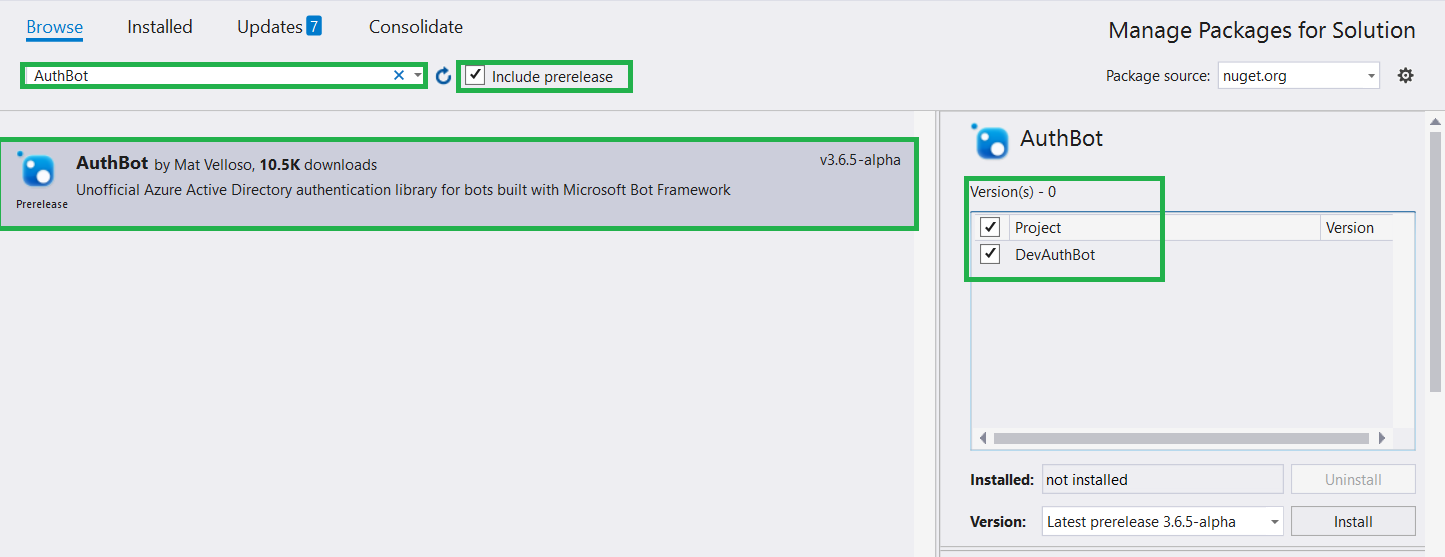
MSDEVBUILD - Community of Microsoft AI, Azure and Xamarin by Suthahar - Solution Architect for Microsoft AI, Azure, Xamarin | Tech Author and Speaker


<appSettings>
<!-- update these with your BotId, Microsoft App Id and your Microsoft App Password-->
<add key="BotId" value="YourBotId" />
<add key="MicrosoftAppId" value="" />
<add key="MicrosoftAppPassword" value="" />
<!-- AAD Auth v1 settings -->
<add key="ActiveDirectory.Mode" value="v1" />
<add key="ActiveDirectory.ResourceId" value="https://graph.windows.net/" />
<add key="ActiveDirectory.EndpointUrl" value="https://login.microsoftonline.com" />
<add key="ActiveDirectory.Tenant" value="dxdemos.net" />
<add key="ActiveDirectory.ClientId" value="2d3b5788-05a5-486d-b2a4-2772a4511396" />
<add key="ActiveDirectory.ClientSecret" value="wU3oFBJ1gjWcB8Lo/fMaaCwg7ygg8Y9zBJlUq+0yBN0=" />
<add key="ActiveDirectory.RedirectUrl" value="http://localhost:3979/api/OAuthCallback" />
</appSettings>
|
using System.Configuration;
using System.Web.Http;
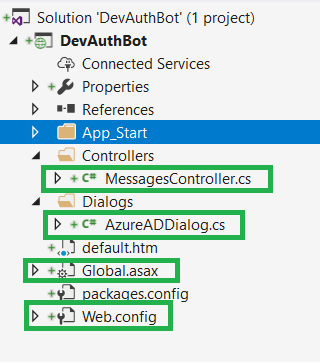
namespace DevAuthBot
{
public class WebApiApplication : System.Web.HttpApplication
{
protected void Application_Start()
{
GlobalConfiguration.Configure(WebApiConfig.Register);
AuthBot.Models.AuthSettings.Mode = ConfigurationManager.AppSettings["ActiveDirectory.Mode"];
AuthBot.Models.AuthSettings.EndpointUrl = ConfigurationManager.AppSettings["ActiveDirectory.EndpointUrl"];
AuthBot.Models.AuthSettings.Tenant = ConfigurationManager.AppSettings["ActiveDirectory.Tenant"];
AuthBot.Models.AuthSettings.RedirectUrl = ConfigurationManager.AppSettings["ActiveDirectory.RedirectUrl"];
AuthBot.Models.AuthSettings.ClientId = ConfigurationManager.AppSettings["ActiveDirectory.ClientId"];
AuthBot.Models.AuthSettings.ClientSecret = ConfigurationManager.AppSettings["ActiveDirectory.ClientSecret"];
}
}
}
|
using AuthBot;
using AuthBot.Dialogs;
using Microsoft.Bot.Builder.Dialogs;
using Microsoft.Bot.Connector;
using System;
using System.Configuration;
using System.Threading;
using System.Threading.Tasks;
namespace DevAuthBot.Dialogs
{
[Serializable]
public class AzureADDialog : IDialog<string>
{
|
public async Task StartAsync(IDialogContext context)
{
context.Wait(MessageReceivedAsync);
}
|
/// <summary>
/// Login and Logout
/// </summary>
/// <param name="context"></param>
/// <param name="item"></param>
/// <returns></returns>
public virtual async Task MessageReceivedAsync(IDialogContext context, IAwaitable<IMessageActivity> item)
{
var message = await item;
//endpoint v1
if (string.IsNullOrEmpty(await context.GetAccessToken(ConfigurationManager.AppSettings["ActiveDirectory.ResourceId"])))
{
//Navigate to website for Login
await context.Forward(new AzureAuthDialog(ConfigurationManager.AppSettings["ActiveDirectory.ResourceId"]), this.ResumeAfterAuth, message, CancellationToken.None);
}
else
{
//Logout
await context.Logout();
context.Wait(MessageReceivedAsync);
}
}
/// <summary>
/// ResumeAfterAuth
/// </summary>
/// <param name="context"></param>
/// <param name="result"></param>
/// <returns></returns>
private async Task ResumeAfterAuth(IDialogContext context, IAwaitable<string> result)
{
//AD resposnse message
var message = await result;
await context.PostAsync(message);
context.Wait(MessageReceivedAsync);
}
|