an easy to create, powerful bot with a no-code graphical interface. This means there isn't necessarily a need for
or developers. It eliminates the gap between the subject matter experts and the development teams building the bots and it minimizes the IT effort required to deploy and maintain a custom conversational solution.
Every Business has their own website with a FAQ page, so you can use support questions from your existing web pages when you are creating a Power virtual
agent bot, it will help you to create your support Bot within 5 min. You don’t want to copy and paste or manually re-creating same content. You can use AI agents assisted authority to automatically extract and create a relevant suggested topic from your FAQ pages. Microsoft made this sequence of work as a very simple easy steps, you can follow the steps below and create your own FAQ business chat Bot.
Setup Power Virtual Agents
Power Virtual Agents
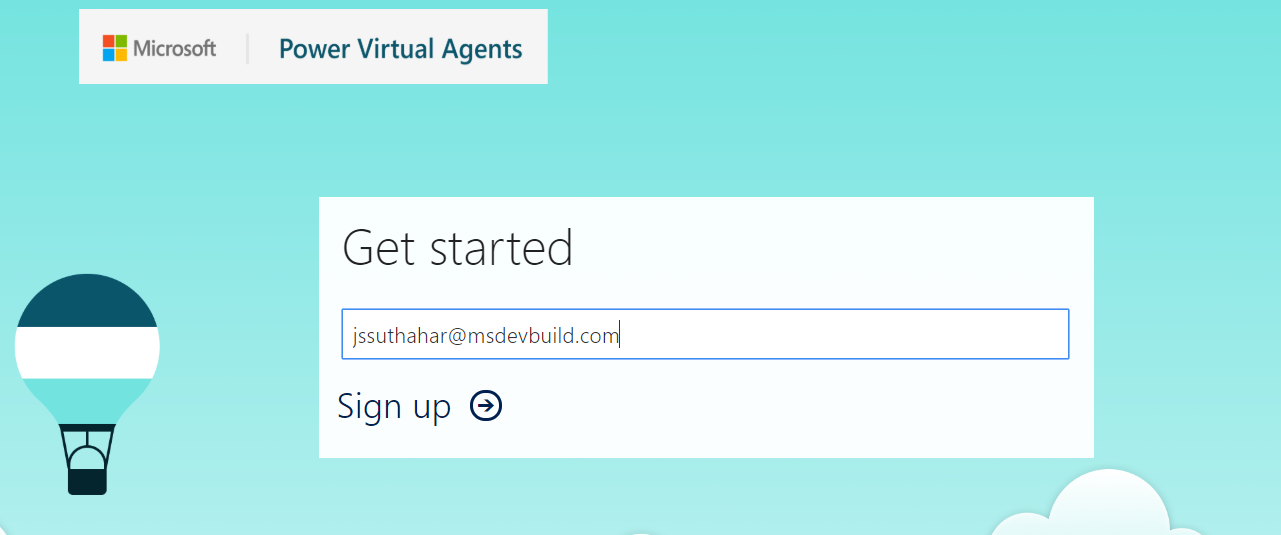
is a software-as-a-service (SaaS). It allows you to easily sign up, create your bot, and embed it into your website and integrate it to the different channels with just a few clicks. There’s no infrastructure to maintain or complex systems to deploy. Provide your
work school account email id and click on Sign up /Sign in.
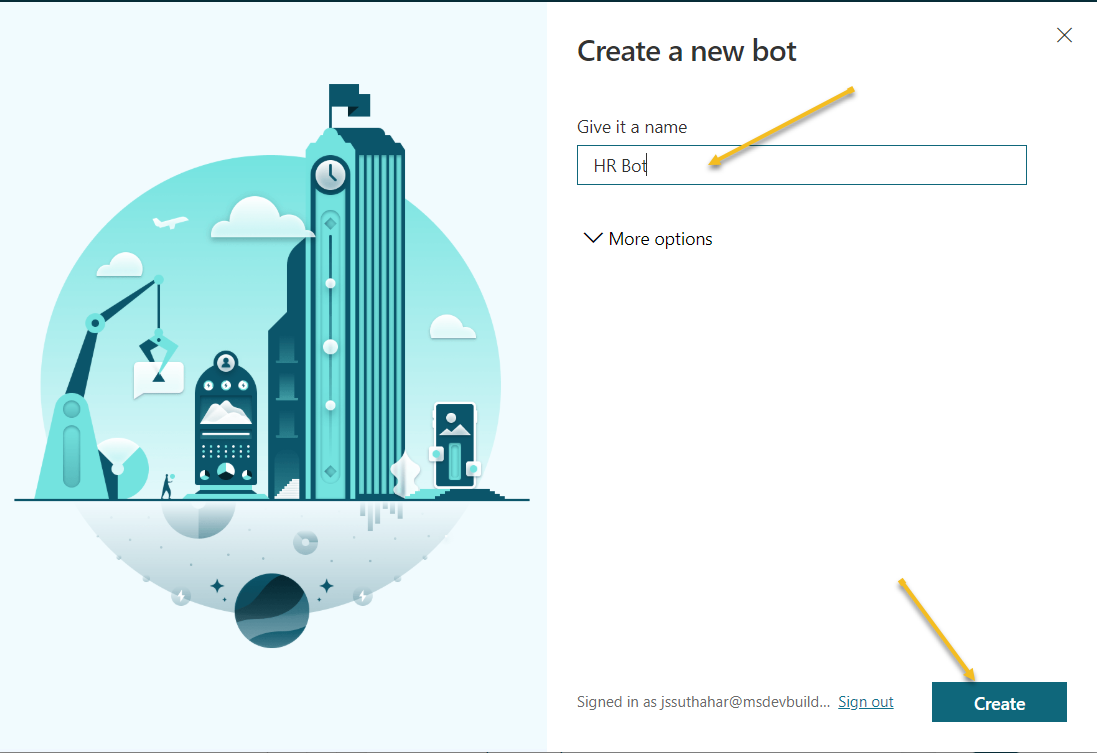
After
click on
Sign up/ sign in, you will get the following screen asking you to set your Bot name. Provide the relevant your business bot name.
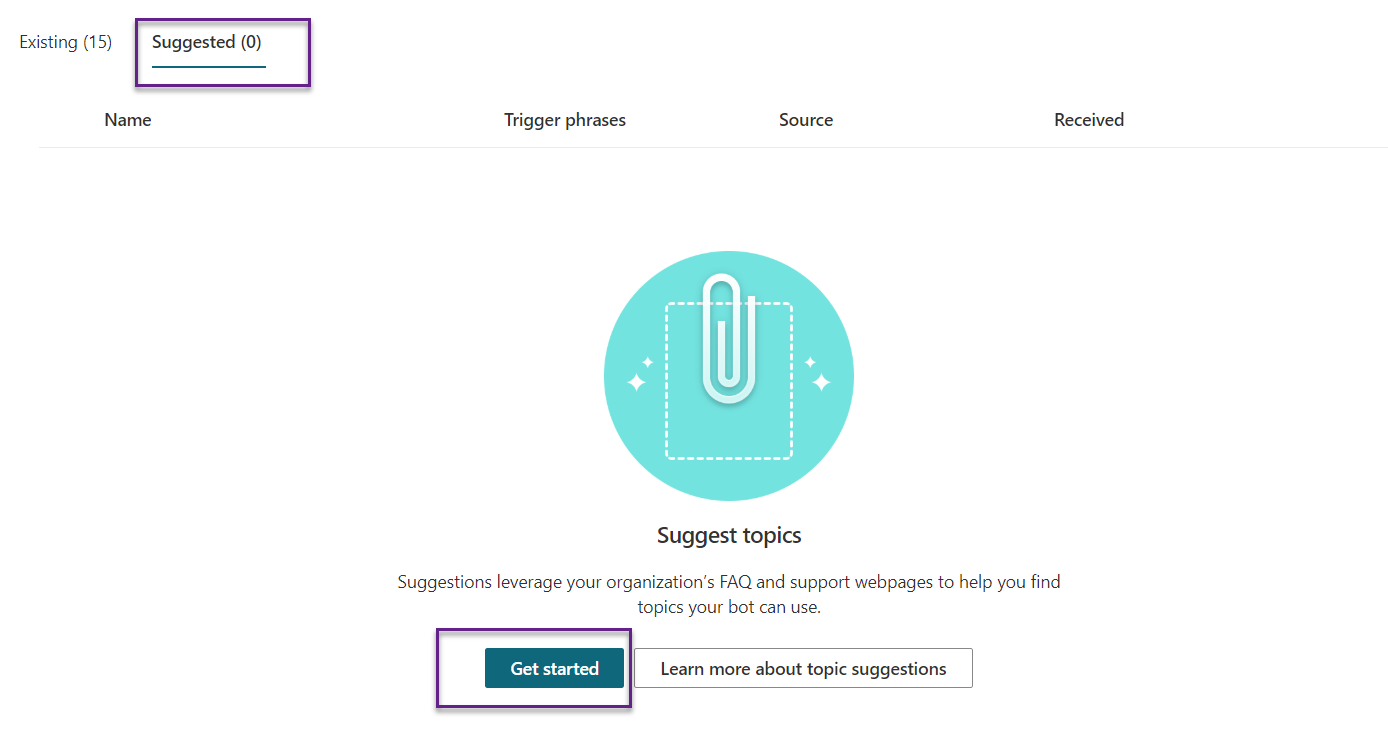
You need to make sure there are three main steps need to do while doing import FAQ and add the topic to your bot application.
- Import Suggested Topics from FAQ webpage
- Add a topic.
- Enable the topics
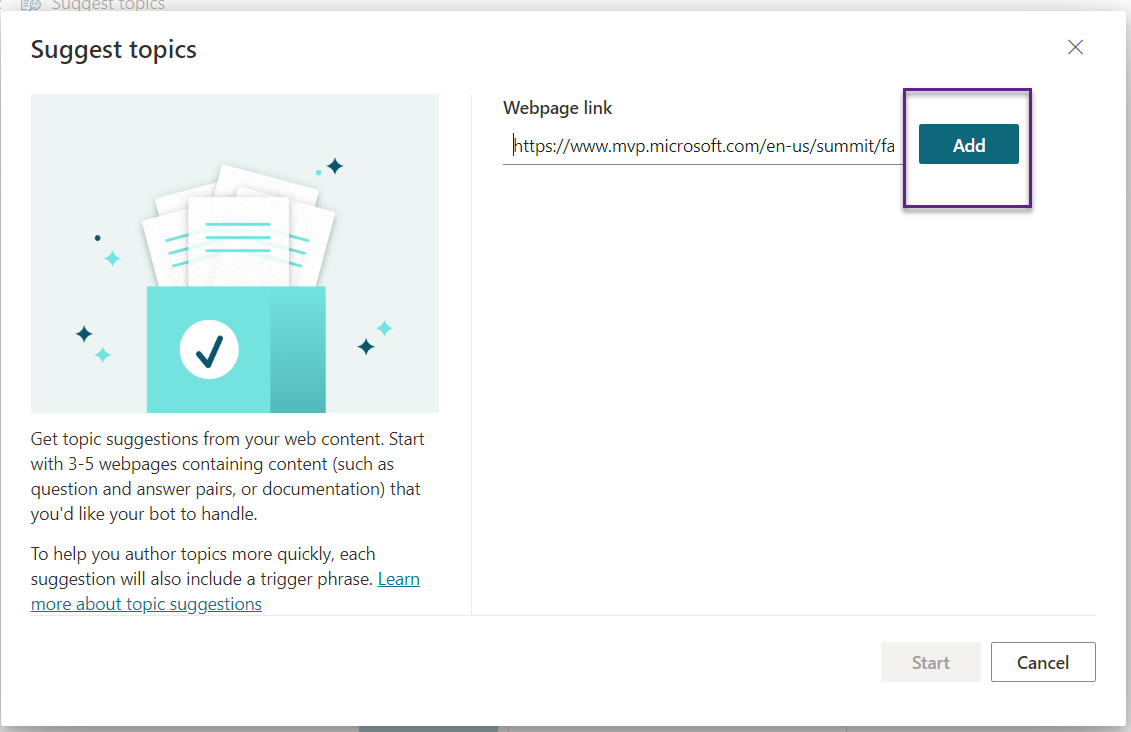
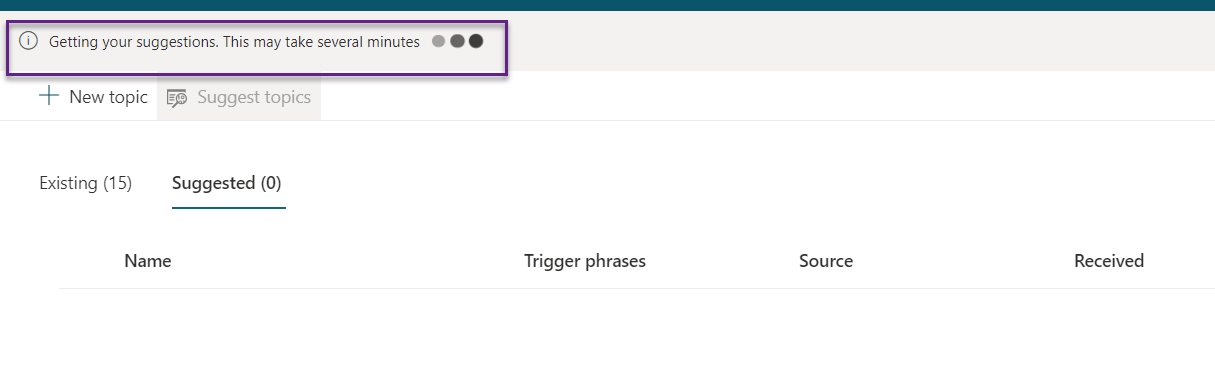
When you're done adding pages, select Start. The process can take several minutes, depending on the complexity and number of
webpages you added. The message "
Getting your suggestions. This may take several minutes" appears at the top of the screen while the extraction is in progress.
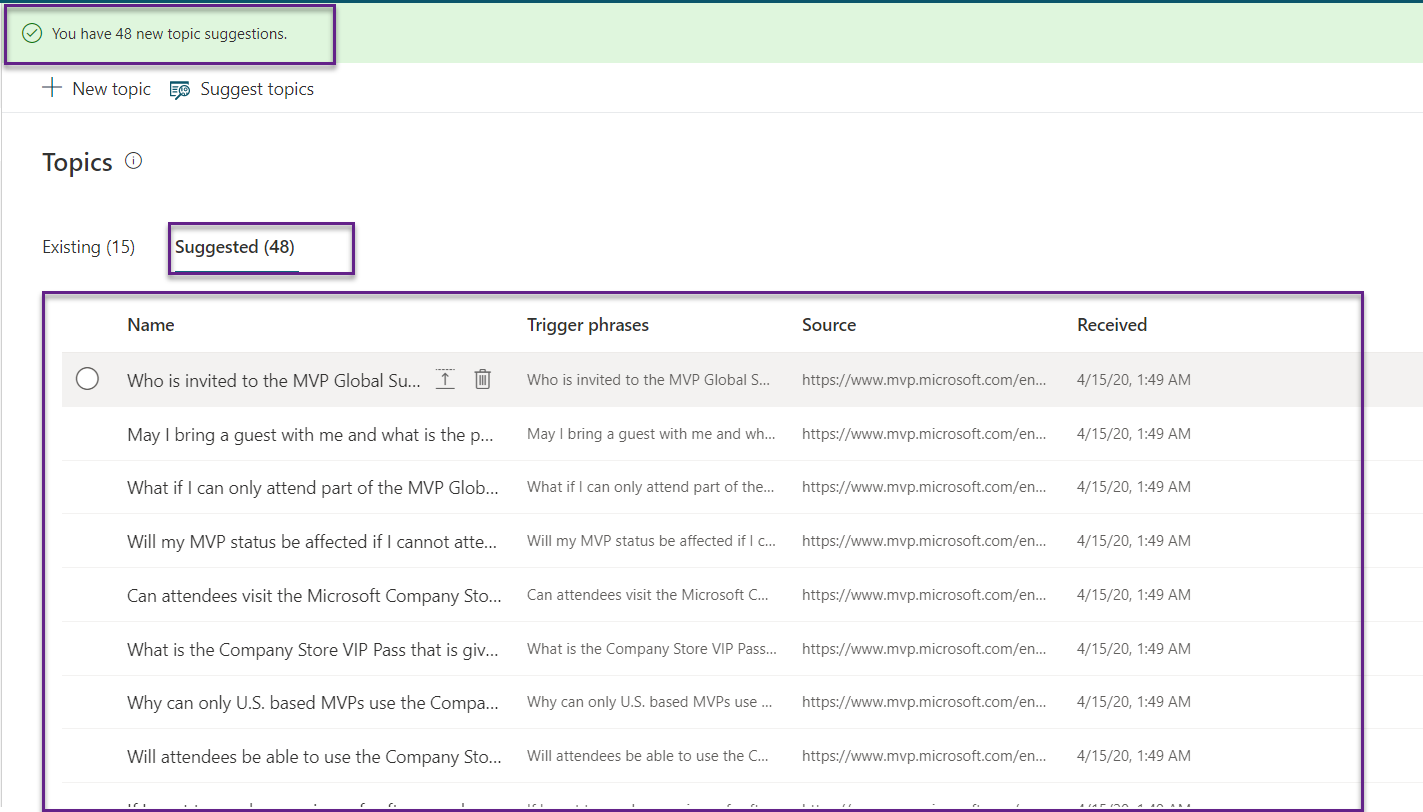
After you've successfully extracted content, a number of suggestions will appear. Here, we have added
MVP Summit FAQ URL, it’s extracted all the FAQ around
48 FAQ extracted and displaying in the suggested topic, you can now review these suggestions to see what you need
add to your bot
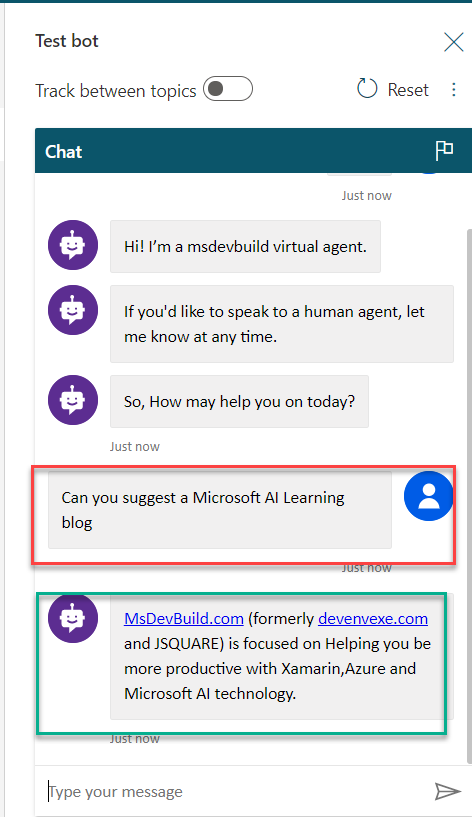
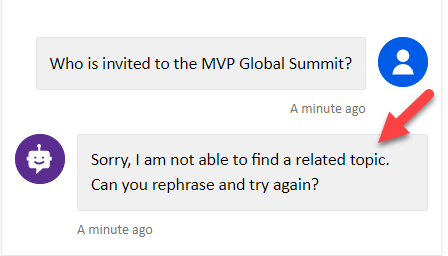
After adding, you need to do two more steps to complete the
process but if you try to test the application, after the suggested topic, you
wont get those topic questions from the suggestion,
Bot will reply the message “ Sorry I am not able to find a related topic“
.
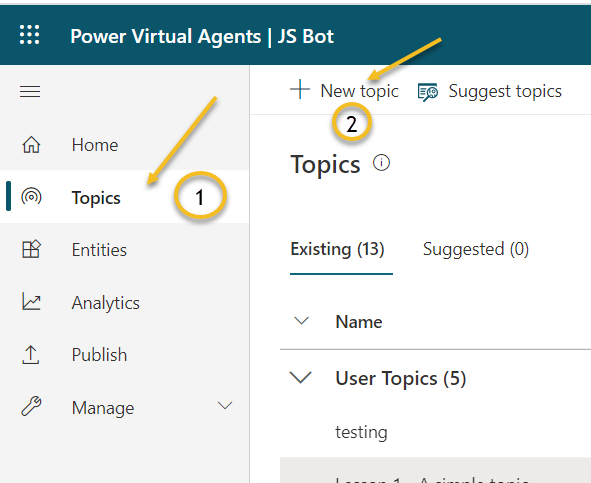
Add a Topics
The import process has been completed, the topic suggestions appear on the Suggested tab. You can just add suggestions without
reviewing but best approach was review them individually like below to decide which ones you want to include in your bot.
Step 1: Select the Name of
Suggestions from Suggestion tab.
Step 2: You can also add or delete multiple topic suggestions at a time. If you select multiple rows from the suggestions tab, you'll see options to
Add to topic or Delete.
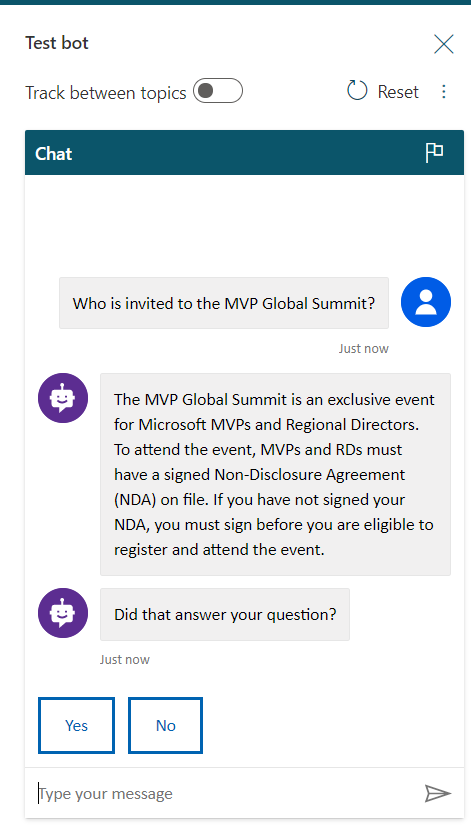
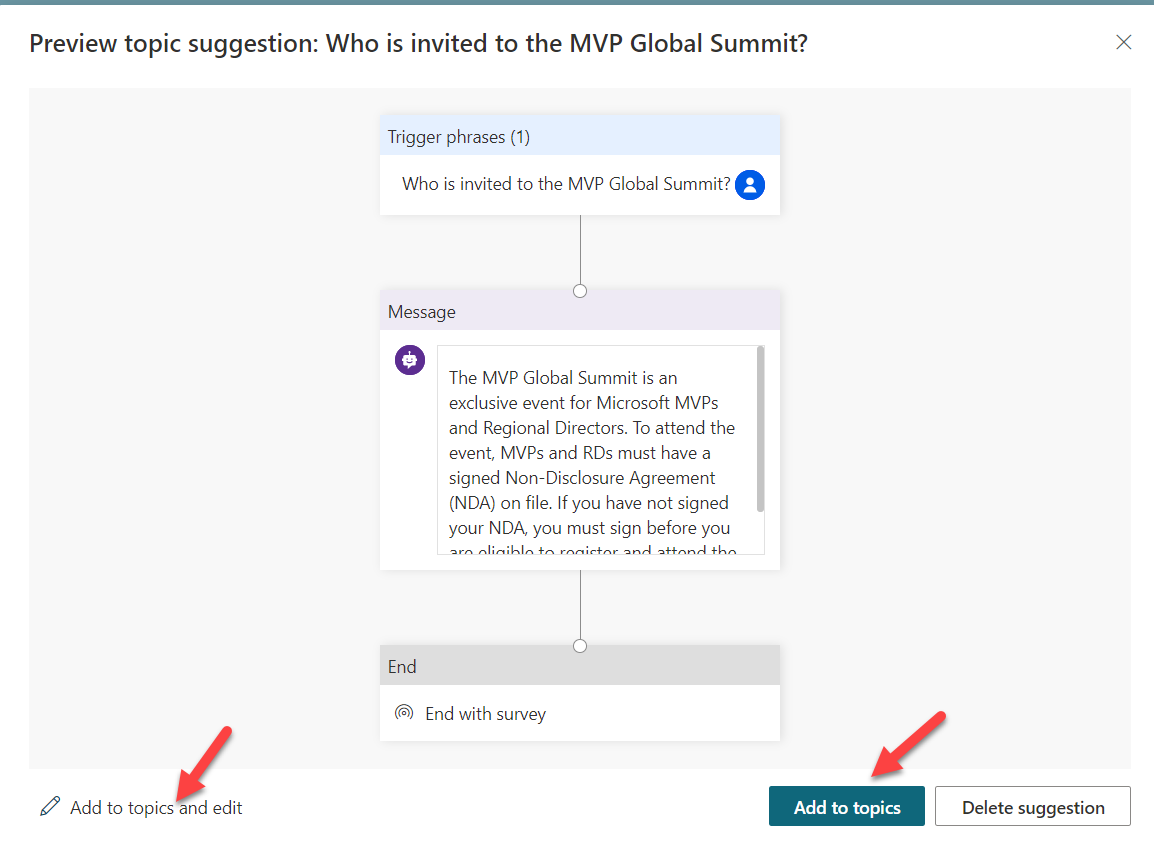
Step 3: Let Start review the suggestion and every topic end of the conversion will display Survey topic questions like “
Did that answered the question” and the user can reply message “
Yes “ or “No” based on that conversation will continue, if you don’t want to display the conversation survey, you can remove anytime
.
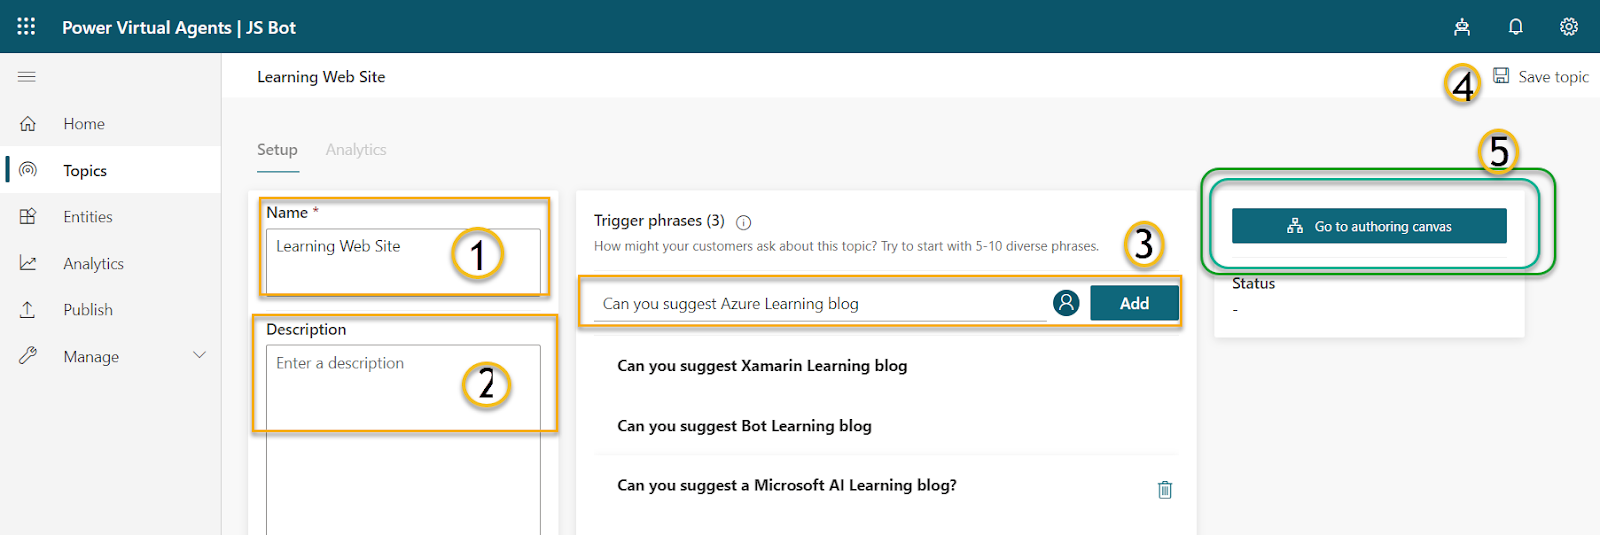
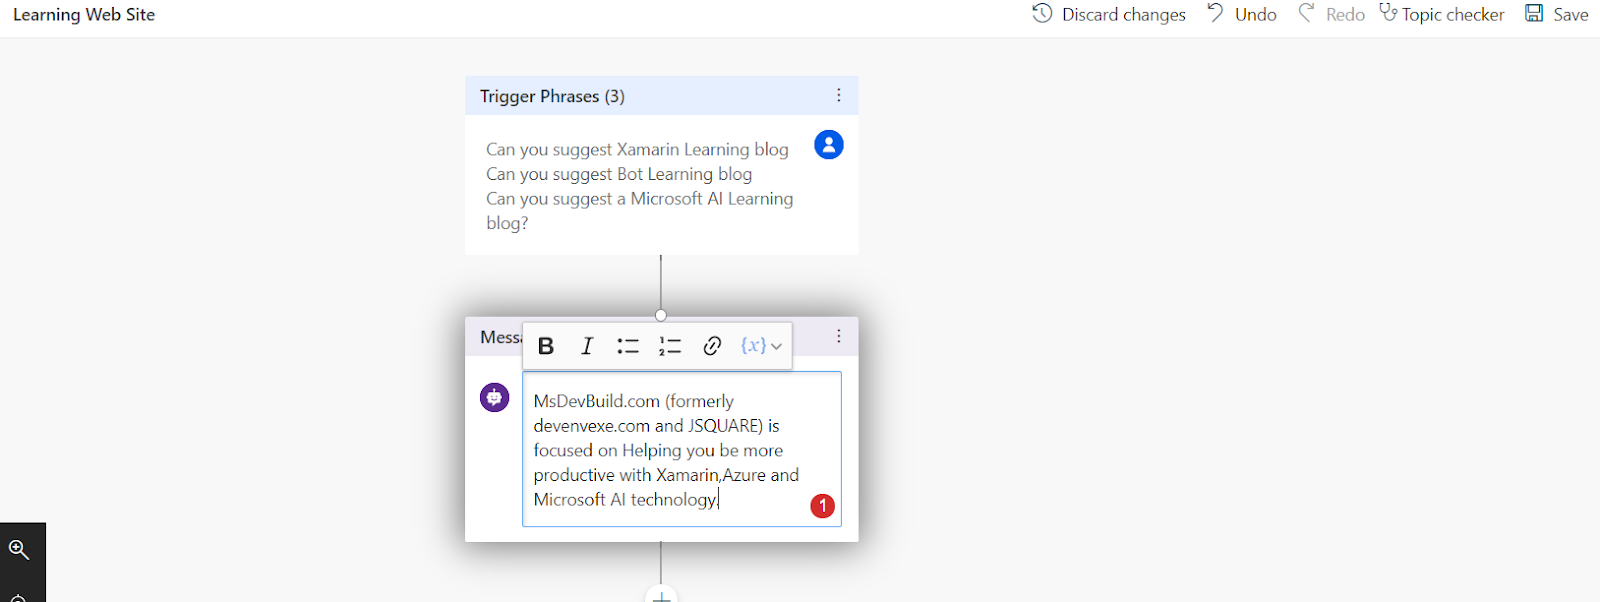
Step 4: You can
edit Trigger phases, which users ask questions and edit answered messages, which bot will reply to the user.
Step 5: You can press on “
Add to the Topic”, after your review suggestion topic
Step 6: Suggestion topic is not relevant or duplicate, you can press
delete suggestion for
remove the topic.
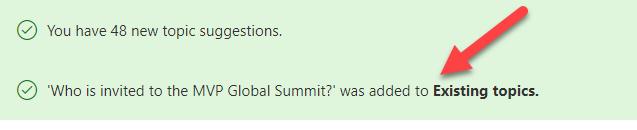
Once you click on Add to topic, you will get a confirmation message saying, your FAQ topic was added to existing topics.
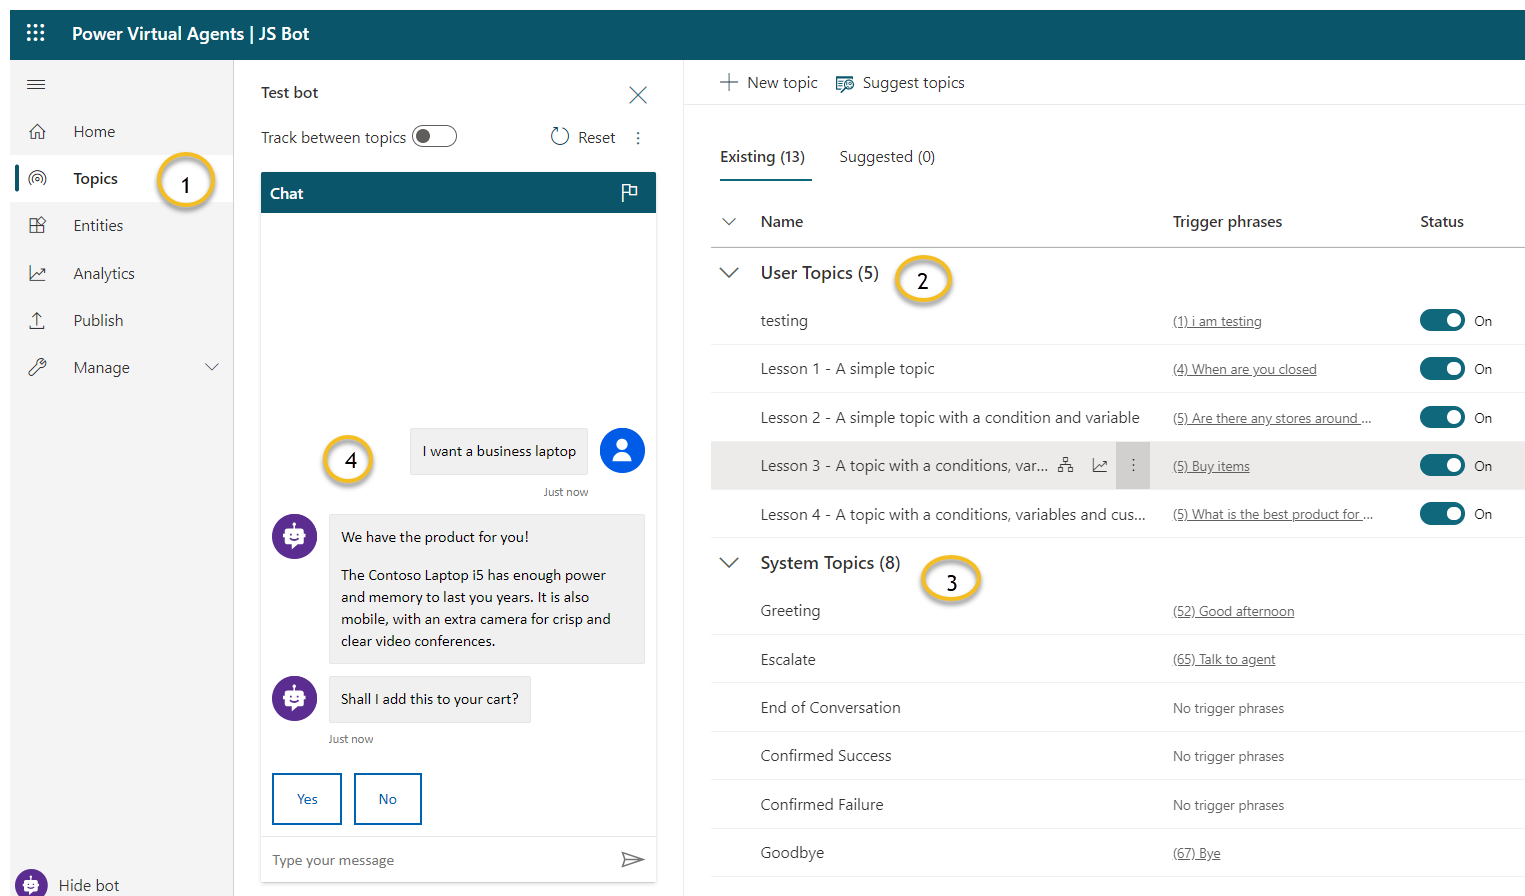
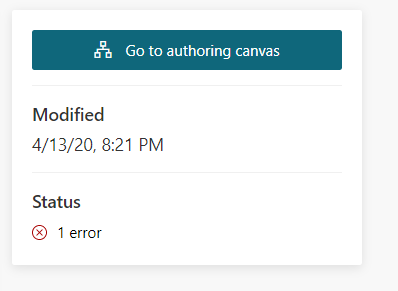
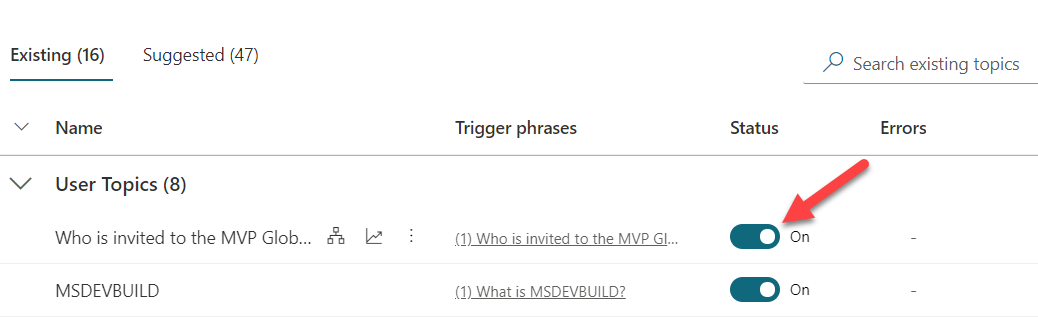
Enable the topics
Suggested topics are added to the Existing tab with their status set to
Off. This way, topics won't be prematurely added to your bot, so you can follow the below steps to enable the topic.
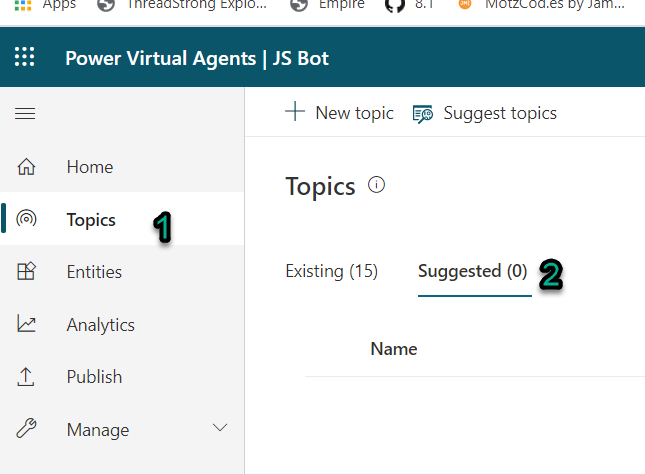
Step 1: Select Topics on the side navigation pane.
Step 2: Go to the Existing tab.
Step 3: For each topic you want to enable,
turn on the toggle under Status.


 with Custom domain")
 with Custom domain")
 with Custom domain")
 with Custom domain")
 with Custom domain")
 with Custom domain")
 with Custom domain")
 with Custom domain")