Getting Started with iOS Storyboards in Xamarin.IOS
Storyboards feature first introduced in iOS 5 that save time building user interfaces for iOS mobile apps. Storyboards allow you to prototype and design multiple view controller views within one file. Before Storyboards you had to use XIB files and you could only use one XIB file per view (UITableViewCell, UITableView or other supported UIView types).
A Storyboard is the visual representation of all the screens in an application. It contains a sequence of scenes, with each scene representing a View Controller and its Views. These views may contain objects and controls that will allow your user to interact with your application.
The storyboard is a collection of views and controls (or subviews) is known as a Content View Hierarchy. Scenes are connected by segue objects, which represent a transition between view controllers. This is normally achieved by creating a segue between an object in the initial view, and the connecting view. The relationships on the design surface.
The following image shows what a storyboard looks like, and it’s similar to the storyboard you’ll build the Storyboard in the end of the article.
Create New Xamarin.iOS Application In order to learn the storyboard, let’s start creating a new Xamarin.iOSproject using Visual Studio 2019 or VS for Mac. When using Visual Studio 2019 on a Windows machine, you will need to pair the Mac machine.
Open Visual Studio 2019 >>Create New Project or select "Open Recent Application" and the available templates will appear on a Windows like below. Select Xamarin.iOS app and click on “Next”
Create a Empty iPhone/iPad Single View Storyboard Application
The content of a storyboard is stored as an XML file. Storyboard files are compiled into binary files known as nibs. At runtime, these nibs are initialized and instantiated to create new views. After selection of single view application, solutions template will generate as below
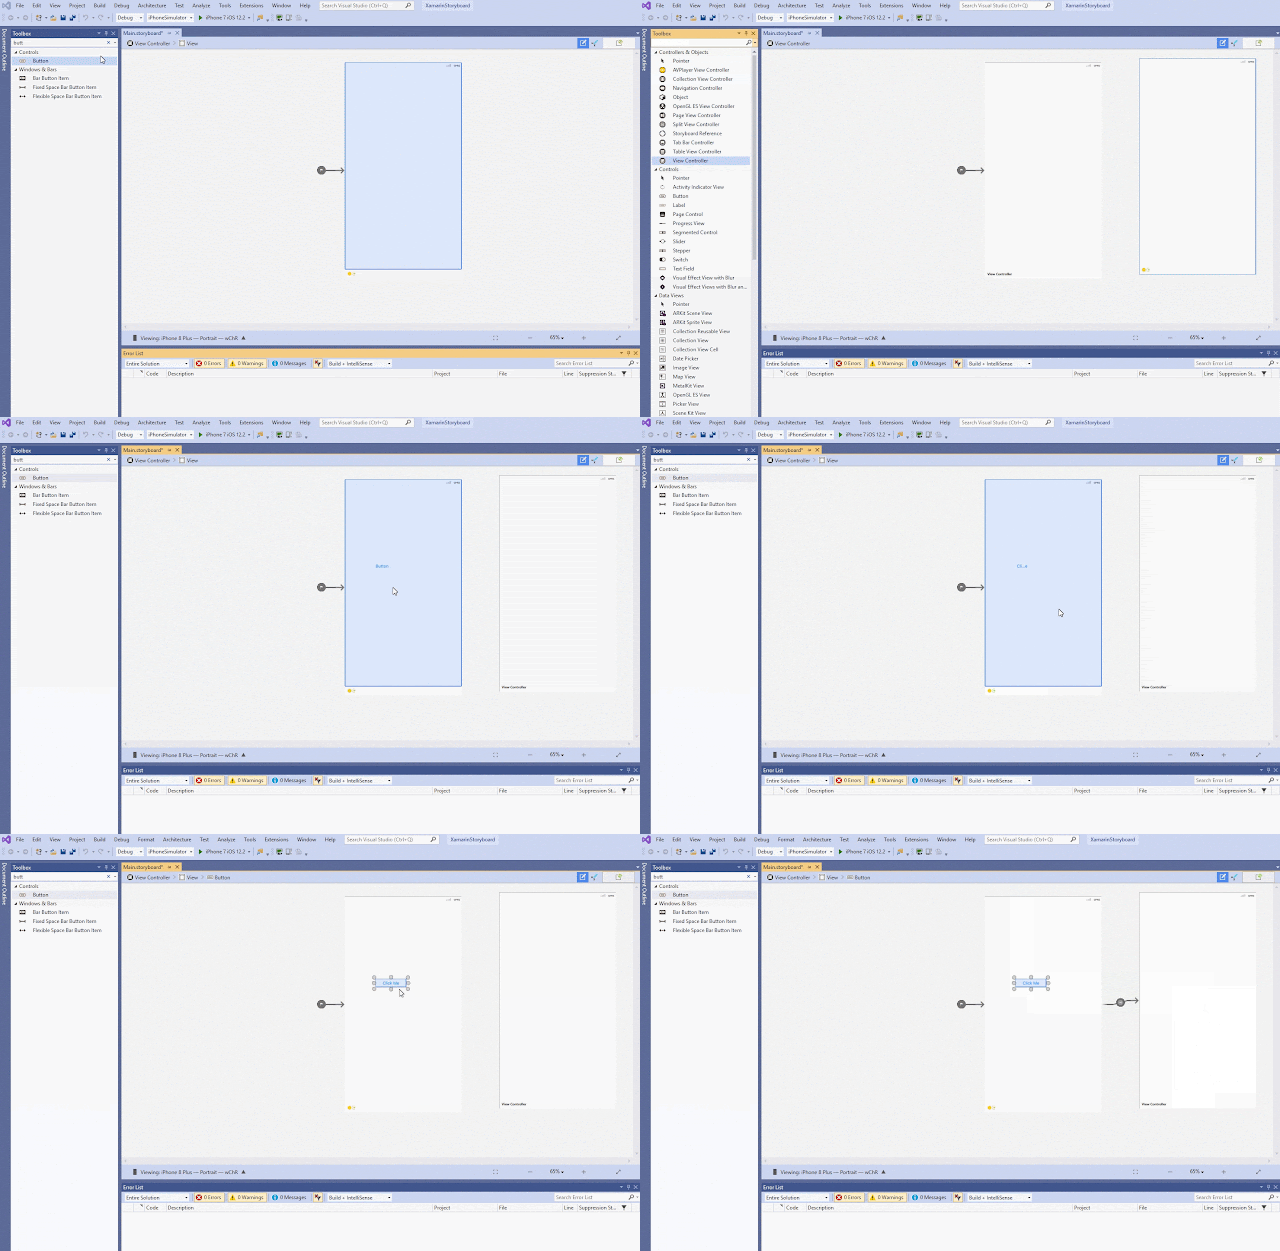
Main StoryBoard: Open Main.storyboard where you can find single view controller. Add one more view controller and update the view controllers as shown below.
View Controller Segue: Let us now connect both the view controllers. Segue is used in iOS development to represent a transition between scenes. To create a segue, hold down the Ctrl key and click-drag from one scene to another. As we drag our mouse, a blue connector appears and select as Show/ Push as image below

Change View Properties: Add Controls into the view controller and Select the properties, Change the styles as per your needs
Output: When we run the application in an iPhone device, we'll get the following output and click on button, it will navigate to new screen.
Summary:


Nice post. I was checking continuously this blog and I’m impressed! Extremely useful info specially the last part I care for such info much. I was looking for this particular info for a very long time. Thank you and good luck.
ReplyDeleteHire Xamarin Developer
Xamarin Development Company