Getting Started with the Custom Project Template using Visual Studio 2017
Visual Studio provide the many inbuilt templates for create a project, In this article we can create a new project template as per your client or product requirement and use the your project template on multiple developer. Visual Studio provides wizards to help you generate templates from projects that are open in the integrated development environment (IDE).
Project template will allow a developer to create new projects based on your exported project. The developer will be able to utilize your template for the new project dialog box
Create New Project:
Let start with creating a new Xamarin or any Project using visual studio 2017.Open Run > Type Devenev
Click on Ok and edit the project until it is ready to be exported as a template.
Export Project Template:
In this article, we areEdit the project as per your requirement > Select the project menu
Choose template Type:
Choose the project template and select your project and click on NextExport Template Wizard:
Fill out the template options as you want and click on FinishProvide Template Name is Project template display name
Provide Template Description is a detailed description about your template
Provide Icon Image and icon image will display near to the project Template name
Provide preview image and preview image will display near to describe.
Check the checkbox for auto import the template into visual studio or after export, will generate zip file and you can move the zip file to following location C:\Users\<username>\Documents\Visual Studio 2017\Templates\ProjectTemplates
Edit Template:
The file explorer should pop up with My Exported Templates where your newly exported project is packed into a .zip file.You can extract the template and if you want to edit the template, edit form MyTemplate
<
<
<Name>csharpcornerProjectTemplate</Name>
<Description>csharpcornerProjectTemplate</Description>
<ProjectType>CSharp</ProjectType>
<ProjectSubType>
</ProjectSubType>
<SortOrder>1000</SortOrder>
<CreateNewFolder>true</CreateNewFolder>
<DefaultName>csharpcornerProjectTemplate</DefaultName>
<ProvideDefaultName>true</ProvideDefaultName>
<LocationField>Enabled</LocationField>
<EnableLocationBrowseButton>true</EnableLocationBrowseButton>
<Icon>__TemplateIcon.png</Icon>
<PreviewImage>__PreviewImage.png</PreviewImage>
</TemplateData>
<TemplateContent>
<Project TargetFileName="csharpcornerProjectTemplate.csproj" File="csharpcornerProjectTemplate.csproj" ReplaceParameters="true">
<ProjectItem ReplaceParameters="true" TargetFileName="App.xaml">App.xaml</ProjectItem>
<ProjectItem ReplaceParameters="true" TargetFileName="App.xaml.cs">App.xaml.cs</ProjectItem>
<Folder Name="Assets" TargetFolderName="Assets">
<ProjectItem ReplaceParameters="false" TargetFileName="LockScreenLogo.scale-200.png">LockScreenLogo.scale-200.png</ProjectItem>
<ProjectItem ReplaceParameters="false" TargetFileName="SplashScreen.scale-200.png">SplashScreen.scale-200.png</ProjectItem>
<ProjectItem ReplaceParameters="false" TargetFileName="Square150x150Logo.scale-200.png">Square150x150Logo.scale-200.png</ProjectItem>
<ProjectItem ReplaceParameters="false" TargetFileName="Square44x44Logo.scale-200.png">Square44x44Logo.scale-200.png</ProjectItem>
<ProjectItem ReplaceParameters="false" TargetFileName="Square44x44Logo.targetsize-24_altform-unplated.png">Square44x44Logo.targetsize-24_altform-unplated.png</ProjectItem>
<ProjectItem ReplaceParameters="false" TargetFileName="StoreLogo.png">StoreLogo.png</ProjectItem>
<ProjectItem ReplaceParameters="false" TargetFileName="Wide310x150Logo.scale-200.png">Wide310x150Logo.scale-200.png</ProjectItem>
</Folder>
<ProjectItem ReplaceParameters="false" TargetFileName="csharpcornerProjectTemplate_TemporaryKey.pfx">csharpcornerProjectTemplate_TemporaryKey.pfx</ProjectItem>
<ProjectItem ReplaceParameters="true" TargetFileName="MainPage.xaml">MainPage.xaml</ProjectItem>
<ProjectItem ReplaceParameters="true" TargetFileName="MainPage.xaml.cs">MainPage.xaml.cs</ProjectItem>
<ProjectItem ReplaceParameters="false" TargetFileName="Package.appxmanifest">Package.appxmanifest</ProjectItem>
<Folder Name="Properties" TargetFolderName="Properties">
<ProjectItem ReplaceParameters="true" TargetFileName="AssemblyInfo.cs">AssemblyInfo.cs</ProjectItem>
<ProjectItem ReplaceParameters="true" TargetFileName="Default.rd.xml">Default.rd.xml</ProjectItem>
</Folder>
</Project>
</TemplateContent>
</VSTemplate>
Custom Visual Studio template:
You can now restart Visual studio and go to New Project in Visual Studio and find the Project template like below
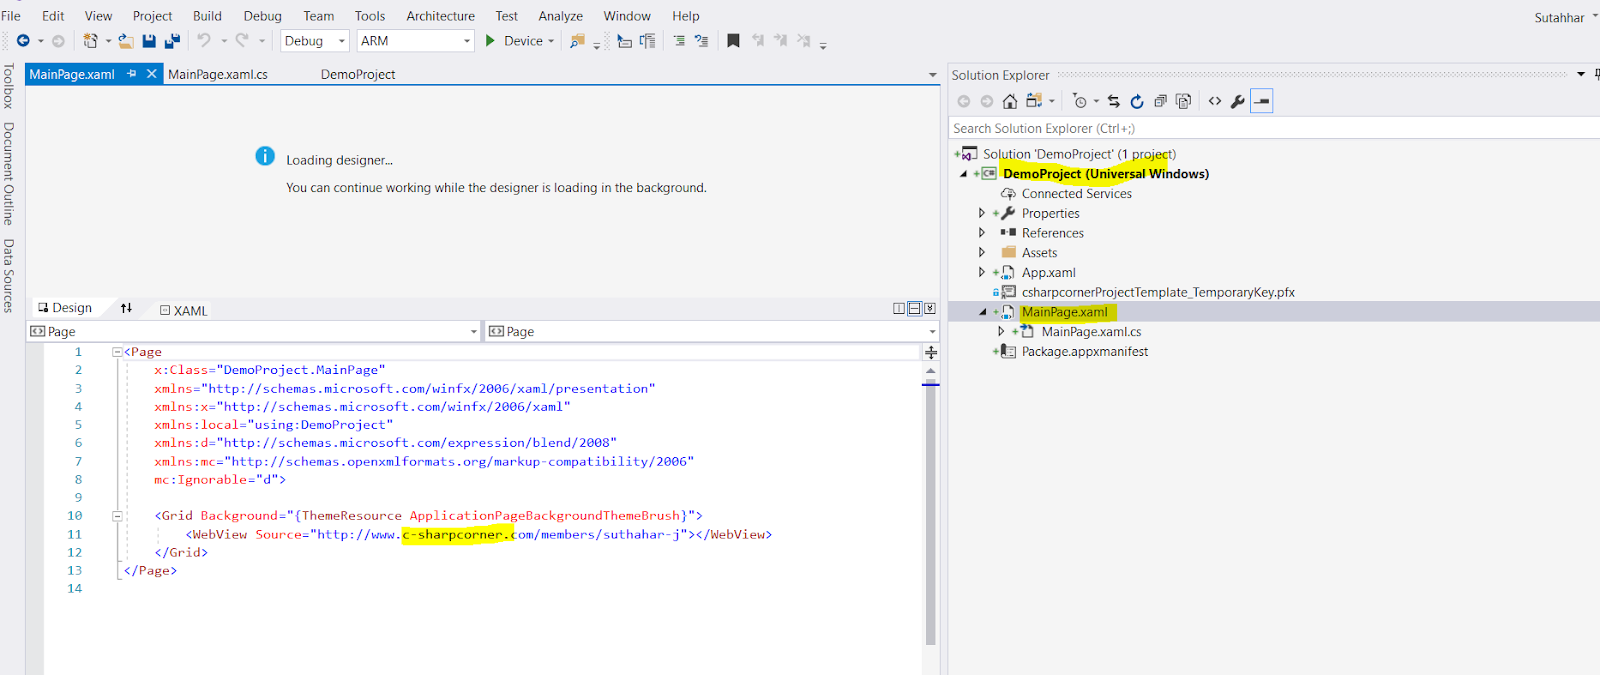
After click on Ok , project will automatically create new project with your default functionality .

If you have any questions/ feedback/ issues, please write in the comment box.
Summary:
In this article, you learned how to create a project template using visual studioIf you have any questions/ feedback/ issues, please write in the comment box.


0 Comments